


When we see online videos, we can often meet FLV format videos. Sometimes, if we like some FLV video, we can easily download it so as to enjoy it again later on. However, we all know that FLV format is not compatible with iTunes. Then what can we do if we want to play back downloaded FLV videos through iTunes? Do you have any good idea?
Well, this article offers a very convenient way to solve that problem - FLV to iTunes Converter. It is a professional software which can easily convert FLV videos into the formats supported by iTunes. What's more, it also posssesses many powerful and user-friendly functions which can help you to edit the original FLV video, customize special output parameters, and save much time and energy.
Tutorial: How to Convert FLV Video to iTunes Format?
![]()
Getting prepared: Free download FLV to iTunes Converter and install it in your computer.
Launch the software after the installation.
.jpg)
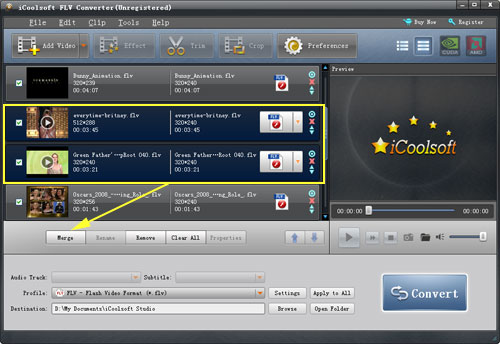
Step 1: Click "Add Video" button and select from your local disk the FLV files you want to convert. You can add several files at a time. Click "OK" then the FLV files will be listed in the file list.
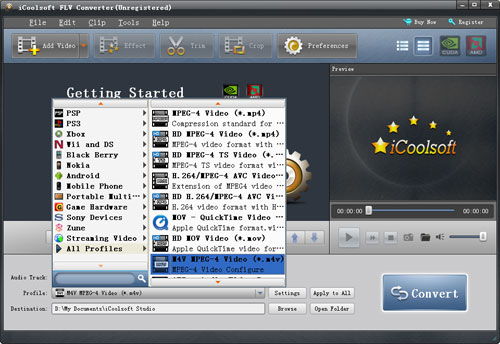
Step 2: Open "Profile" drop-down list and choose the proper format compatible with iTunes (MOV or MP4). You can also select the output format by clicking button 'Settings". In that "Settings" window, you can also set Encoder, Resolution, Frame Rate, Video Bitrate, and so forth.
Click "Browse" button to set output folder. "Open Folder" button can help you to open the output folder directly.
Step 3: Select a FLV video and use "Effect, Trim, Crop" buttons on the tool bar to edit it as you like. You can adjust video effect, trim any time length of clips, crop displaying area, and add text or picture watermark.
Tip:
If you want to merge several files into one file to output, you can select the files from the file list and then click button "Merge". The merged file will be automatically named as "Merge" and listed below.
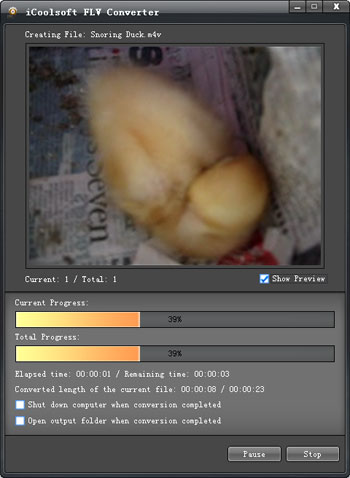
Step 4: Click "Convert" button to start converting FLV videos to iTunes format. The files in the file list are all checked to be converted by default. If you do not want to convert some file, uncheck it before converting. Or use the "Remove" button to remove it from the file list.